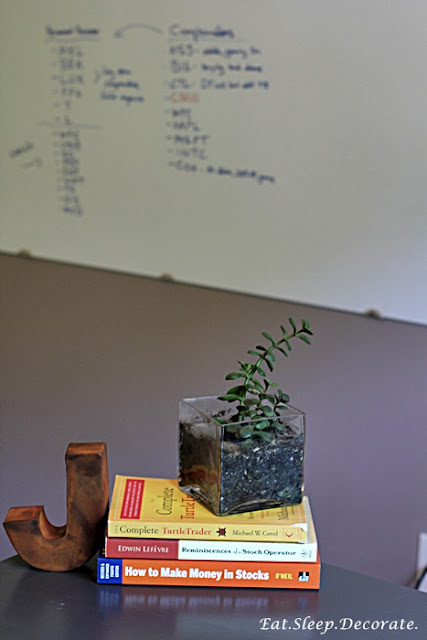
However, I do have a little DIY for you all today on how we hung his beautiful (and cheap) whiteboard!
So a few months ago I started searching for large whiteboards that the Hubs could use in his office. He is an investor and wanted a place to write his ideas and goals and be able to see them by just looking up from his desk. I searched office supply stores, but for the size we wanted it was going to be around $100-$150!! I thought that was a lot of money for a board that has special white paint on it.
Then a couple of weeks later I was at one of my favorite stores (Home Depot) and ran across their large sheets of marker board. It was only $14.99 for an 4'x8'!! I was so excited that I sped home to measure the wall where it was suppose to go. We didn't have a long enough space to be able to use up the 8' so I decided to keep the length at 56" to be safe. I flew back to HD and a wonderful lumber specialist helped me cut it for free!
I also picked up these mirror brackets to hold the mirror in place. ($3.99 x2).
Total project thus far..$22.97!
Sorry, bad angle! They are measured equal distance and you can see that we did a little opps at first!
We used plastic screw anchors in the wall so the whole board wouldn't pull away from the drywall.
Then it was time to slide the white board into the clips....
The board was still a little wobbly, so I found some extra circle pads that I used for the bottom of our chair legs in the kitchen. I cut them in half and placed them between the whiteboard and clips. No moving around this time...perfectly in place and ready to be used!
I surprised the Hubs after he got home from a business trip. He was very pumped about his new whiteboard for only $22.97!! Big time savings ya'll!
His desk has even been relocated to facing the whiteboard. I think he likes it a whole lot!
Because I didn't add any trim or bottom tray for the markers and erasers to rest, I found these little tin pails in the dollar section at target! I added a 3M hook and presto....I couldn't be happier with the little organization station.
Linked up: Liz Marie Blog & Serenity Now
I surprised the Hubs after he got home from a business trip. He was very pumped about his new whiteboard for only $22.97!! Big time savings ya'll!
Because I didn't add any trim or bottom tray for the markers and erasers to rest, I found these little tin pails in the dollar section at target! I added a 3M hook and presto....I couldn't be happier with the little organization station.
What a simple and cheap project! You could even use this idea in a command center, kids room or entryway for family organization. I have seen many neat projects with marker board all around pinterest.
Thanks to Home Depot for making this DIY possible and right on track with our budget!
Happy DIYing All!


What a great idea Amy, He must love it! Amazing what you can do with such simple things!
ReplyDeleteThanks Laurie! He does like it a lot! So wish I had a cool office like him! ;)
DeleteWhat a good and practical way to organise your marker board. Glad to know that the Hubs liked the result of your project. Thanks for sharing.
ReplyDelete