


If you missed the before pictures on this place, you will want to go Here. It was a fun little project that took about 8 weeks. I enjoyed working with our business partner picking out colors, flooring, counter tops and adding those sweet little touches to make it feel like home.
This little beauty is around 1600sqft with 4 bedrooms, 2 full bathrooms, a good size family room with fireplace, eat in kitchen with french doors leading out onto a large back deck that overlooks a fenced in yard.


And I couldn't leave you today without a couple of before and afters....


Now...on to finding another! Stay Tuned!!
The Details:
Kitchen:
*New Appliances
*Painted Cabinets White
*New Vinyl Floors
*Sprayed hardware
*New Granite Countertops (Venetian Gold)
*New Paint (Sherwin Williams-Wedgewood Gray)
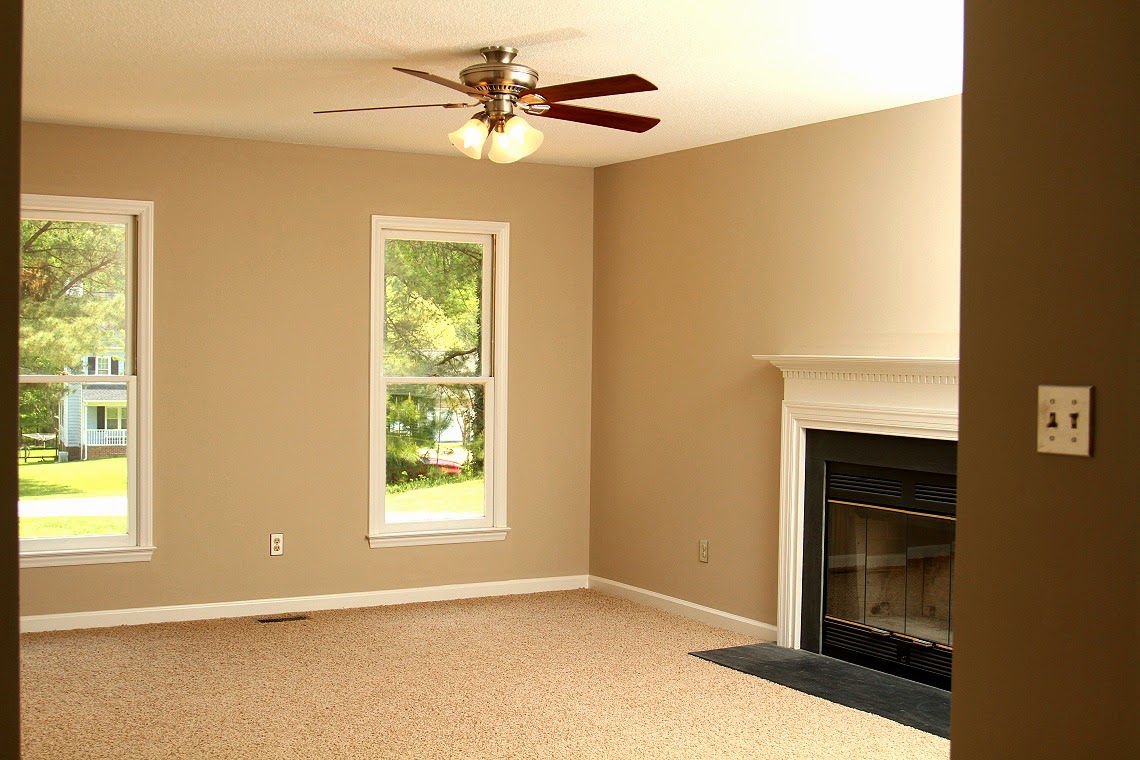
Master Bedroom:
*New Paint (Sherwin Williams-Bungalow Beige)
*New Ceiling Fan
*New Carpet
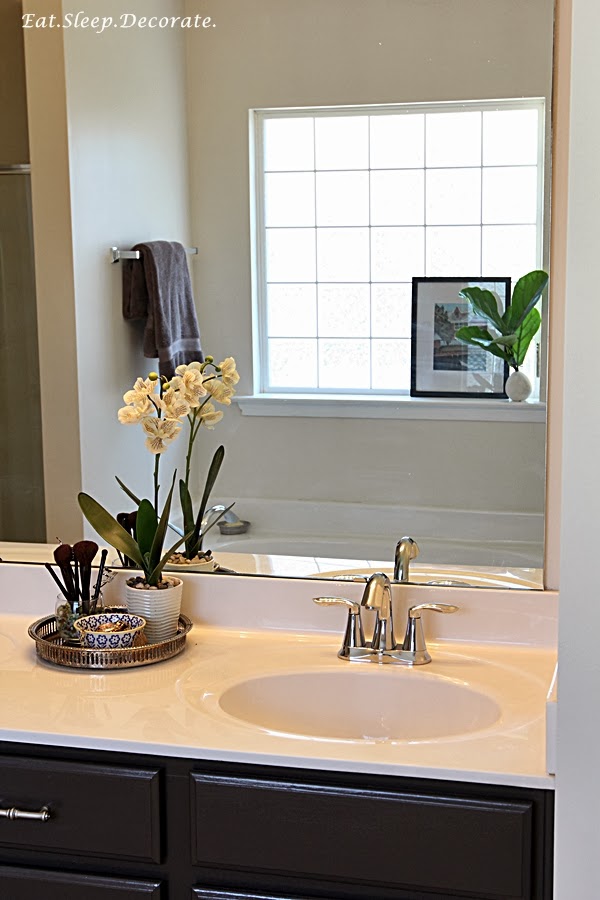
Bathrooms:
*New Vinyl Floors
*New Countertops
*New Sinks
*New Fixtures
*New Tub and Surround
Interior:
*New paint throughout (Bungalow Beige (sw 7511))
*New Carpet in living room and bedrooms
*Stained railings in entryway
*New Light fixtures/fans
Exterior:
*New Landscaping
*Power washed & Stained back deck
*New Paint on siding, trim, doors & shutters (main color: Amazing Gray (SW 7044)
*Removed wood rot from siding/replaced some siding
*Brought in a load of stone for driveway
Thanks for all of your wonderful comments and support on our flip homes! We sure love what we do!
Have a Fabulous Day!
Linked up at: Thrifty Decor Chick