Showing posts with label "Sew" Easy. Show all posts

Monday, January 12, 2015

{DIY} Fold Over Clutch

Happy Monday! Did this weekend fly by or what? The Hubs and I got some much needed tossing and organizing done. Can you tell I am starting my nesting process? Yep...time to get rid of "stuff"!

Today I wanted to pop in and share a fun DIY that my mother-in law and I made last week while she was visiting. I had a vision in my head for a while and with my mother-in law's sewing talent, we created this easy fold over clutch within a couple of hours.


I love how we added a little unexpected pop of color within the inside...


And of course I had to add a fun gold zipper....


For the Full tutorial on how to make these little leather bottom fold overs, hop on over to my Mother-in law's blog Barbara Huber Designs! Make sure you say hello from Eat.Sleep.Decorate!


Tuesday, July 23, 2013

Adding Trim to Ikea Drapes


A few weeks ago you got a little peek of my living room drapes when I showed you my new lumbar pillows.


These drapes actually came from Ikea in a package of 2 for $24.99! I have always loved the relaxed feel of white grommet drapes, but knew I needed to add a little punch of color to tie in the rest of the space.


I decided on the yellow Moroccan fabric that I also used on recovering the rocking chair last fall. I also fell in love with these curtain rods in brushed nickel from West Elm.


Because the drapes were pretty long and my ceilings are 9ft, it took a while to cut the fabric to the right length. But once the fabric was cut, the rest was easy! I turned each side under 1/4 of an inch and pressed it with an iron. I pinned the fabric in place along the edge of the drape and stitched 1/8 of an inch on all four sides. (BTW..I did have pictures of these steps, but can I find the SD card with them? Nope!...so sorry for all the words and no pictures!)

If you don't know how to sew, no problem! You could also turn each side under like above and then use stitch witchery to adhere the fabric to the drape! I use stitch witchery all the time and it is fabulous!

I was very excited to finally have some curtains in this space. It really brings your eye up and creates a more open feel to the living room. And...I love how they blend with the new pillows!


What do you all think? Would you ever try diy-ing a little trim on your drapes or pillows?


Linked up: Liz Marie Blog & Serenity Now

Tuesday, December 6, 2011

Pillows....Pillows and More....Pillows

Yes, I am going to talk about Pillows today! HA! You all know how much I like a little "Bling" in each room. Well, I have been working on adding some holiday "bling" to the living room and dining area.

A couple of months ago, I taught you all how to make "Sew" Easy Pillows. I knew that these were quick and easy, so I decided to try them out again on some holiday pillows.

I saw these tree napkins at World Market and I just had to have!


First, I ironed the napkins flat, then pinned them right sides together
near the already sewn seams.

Next, I used my handy dandy sewing machine and stitched three sides together. I made sure to sew very close to the seam of the napkins because once I turned the pillows, I didn't want any of the old seam to show.

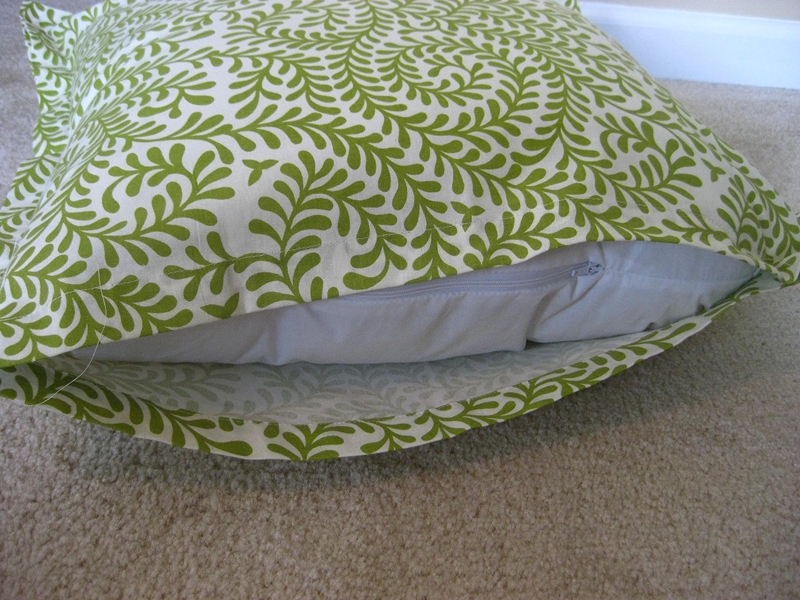
Before I turned the pillow covers right side out, I decided to add some Velcro to the bottom of the last side. If you remember from my "Sew" Easy post, I actually put the pillow form inside and stitched the last side up. Well....because I am trying to save a little money people!.....I am reusing pillow forms that I already had. So I wanted to make it easy to just take the cover right off after the holidays.

Finally, I turned the cover right side out and gave her a little stuff......


Closed her up tight.....

And....


Magic......


Loving these little ladies! I ended up making two for the living room couch! They are fun and even add a little modern touch to the classic holiday decor!
I might even keep these up all winter!

Come back tomorrow to see my Naughty or Nice Pillows!

Linked up at:
Home Stories A2Z

Monday, August 15, 2011

DIY Weekend Project- “Sew” Easy Pillows

Like most of you, I have a LONG list of weekend projects. It seems like the list gets longer and longer in the summer. Since we are trying to get our New Office up and running, I only had time for a very small project this weekend.

As many of you know, I just love me some “BLING” (aka Pillows) in bedrooms, living rooms, dining rooms…wherever!

In June, I bought some napkins from Home Chic. I decided the color fit perfect in my guest room rather then in the kitchen.


So…I decided to make them into pillows instead of using them to wipe our dirty faces on!
First, I measured the width of the napkins. Then I went to JoAnns to get a pillow form that would fit perfectly inside.
Next, I ironed out all the wrinkles and placed the napkins wrong sides together.

I followed the seams in the napkins and pinned three sides together, leaving the fourth side open for the pillow form.

Next, I placed the foot of the machine along the seam and stitched all three pinned sides.

Minor Accident! I pinned my finger as I was taking out the pins while the machine was running! OUCH! (Take this step out of your instructions!)

Once I finished sewing, the pillow cover looked like this.

I stuffed the pillow cover with my 18inch pillow form. Then, I stitched up the fourth side following the napkin seams like before.

Here is the end product! Wasn’t that “Sew” Easy?

Aren’t they pretty? I love the different patterns and textures on the bed!
{Pictures of the Guest Room coming soon!}
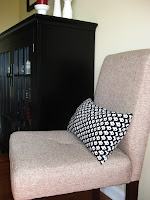

 
Here is another example of the “Sew” Easy Pillow. Instead of using two napkins, I only used one patterned napkin and folded it in half to make this lumbar beauty!


What DIY projects have you been working on?

Amy ©

Linked to:

Visit thecsiproject.com
Related Posts Plugin for WordPress, Blogger...

Total Pageviews